


Part 3 of our Pro-One upgrade trilogy provides hints for a new CPU, MIDI kits, and some very simple modifications. The material for the latter can be purchased in any hardware store for a few Euros, and lend the Pro-One a higher degree of stability …
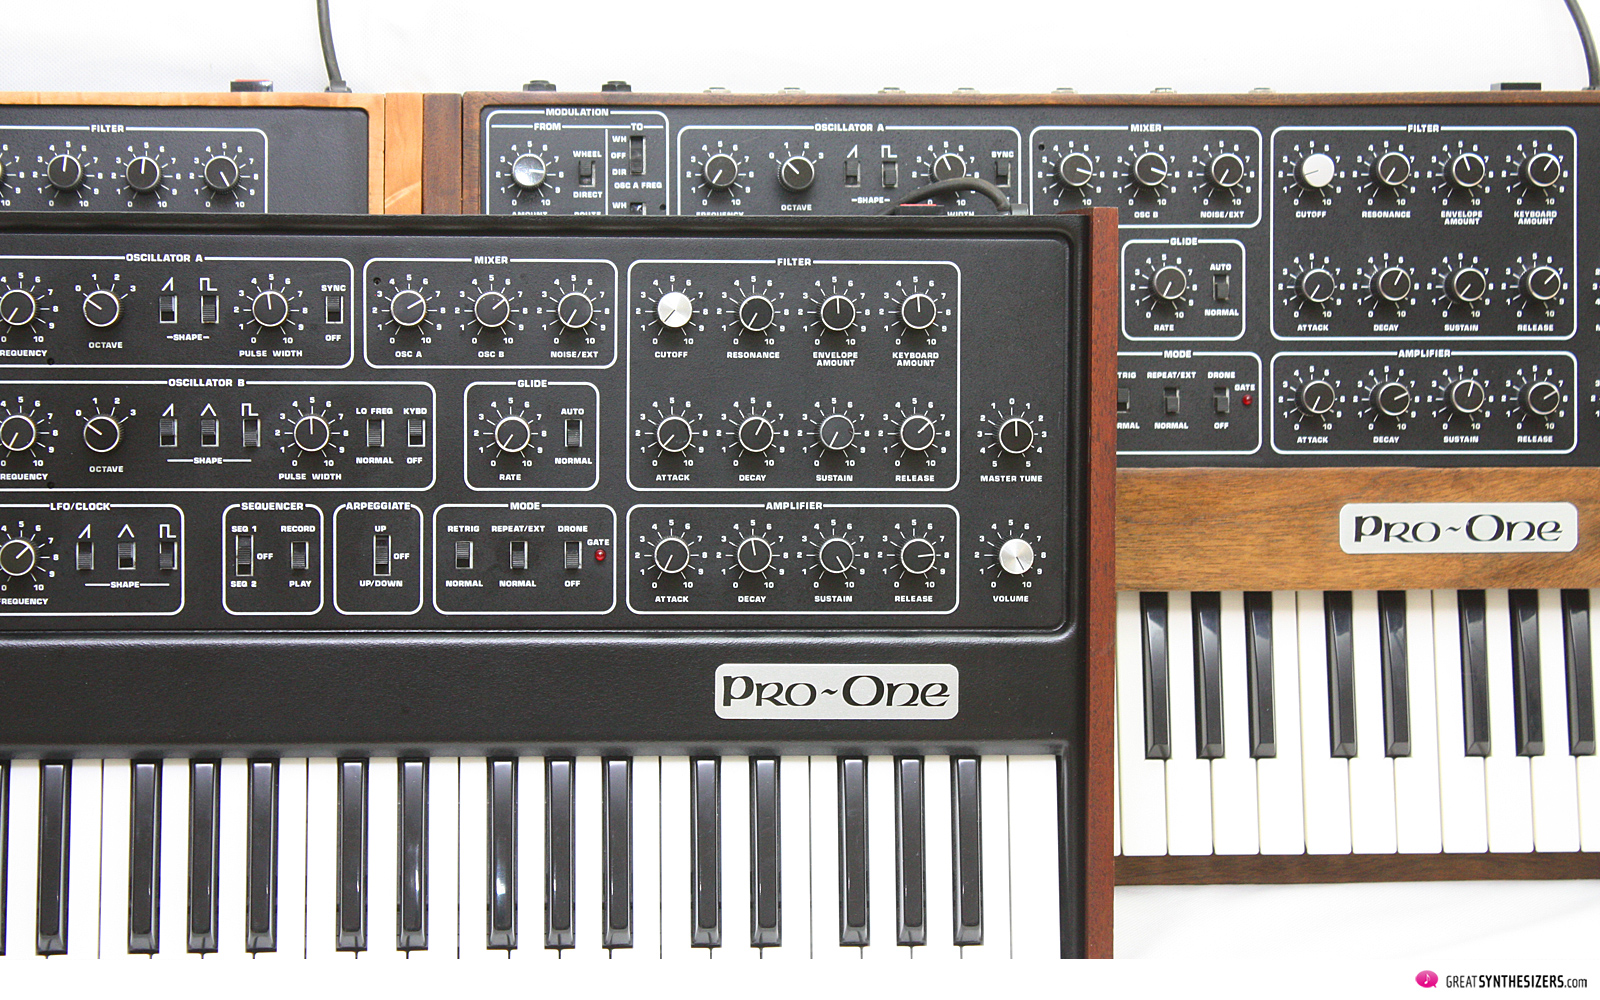
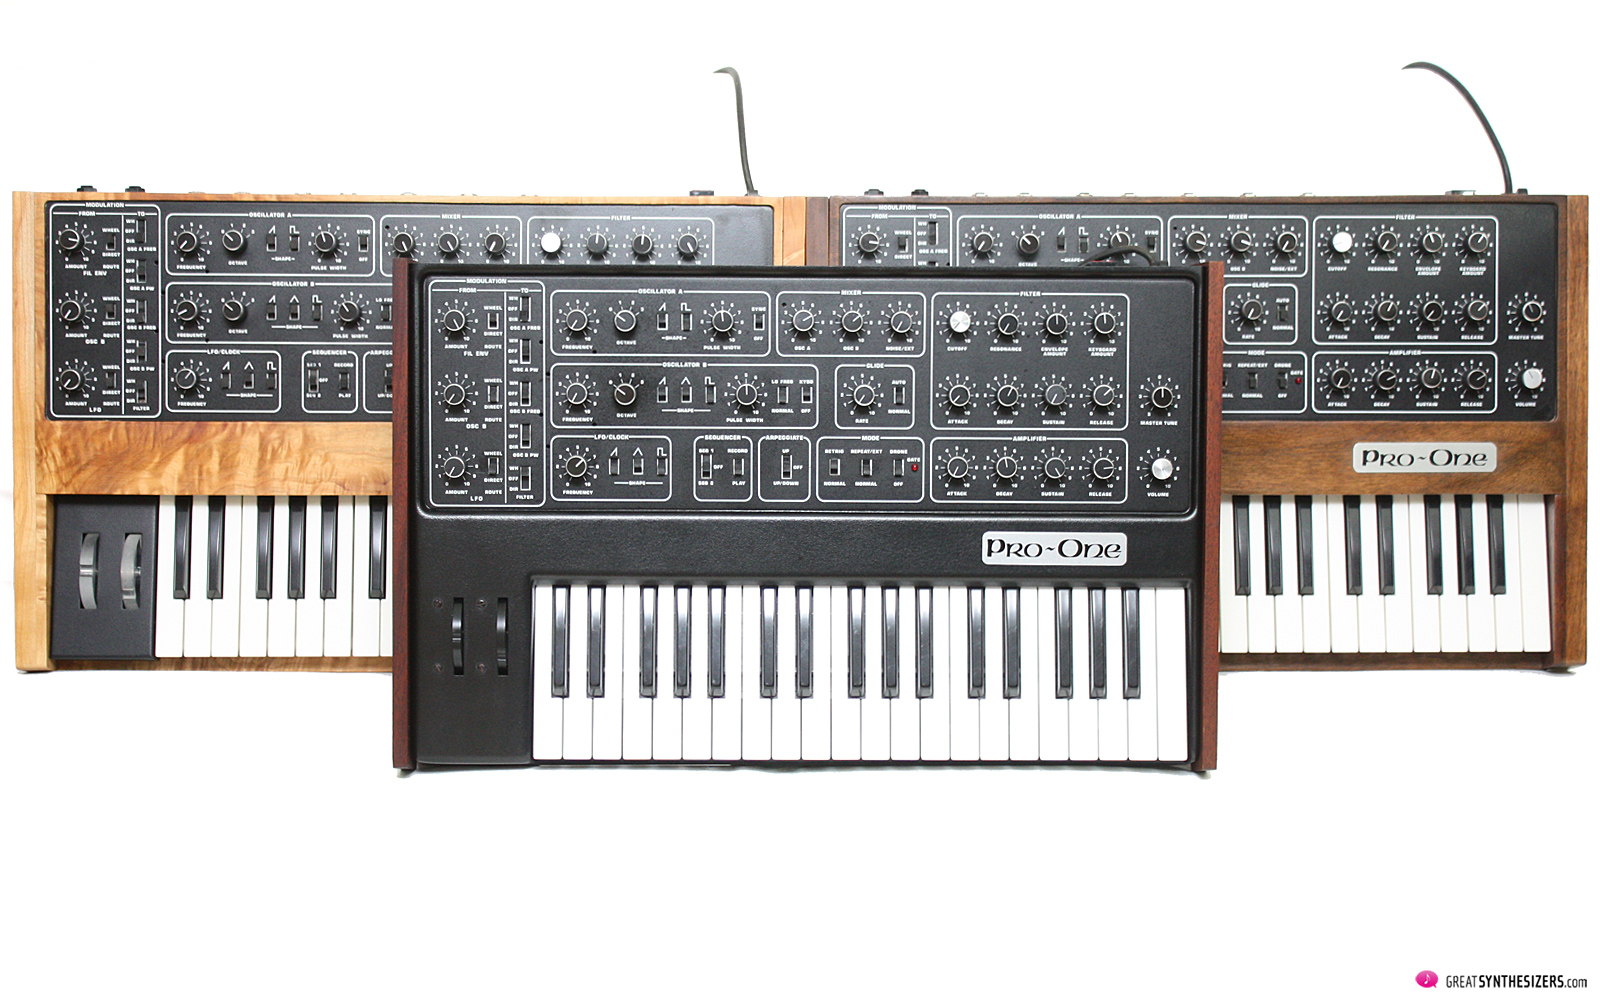
First, however, an after-thought on the side panels of the Pro-One. These may be had not only in the USA, but also in Europe. Strictly speaking, any experienced craftsman musician could manufacture them himself, but entrepreneurs / professional carpenters often have better access to noble woods.
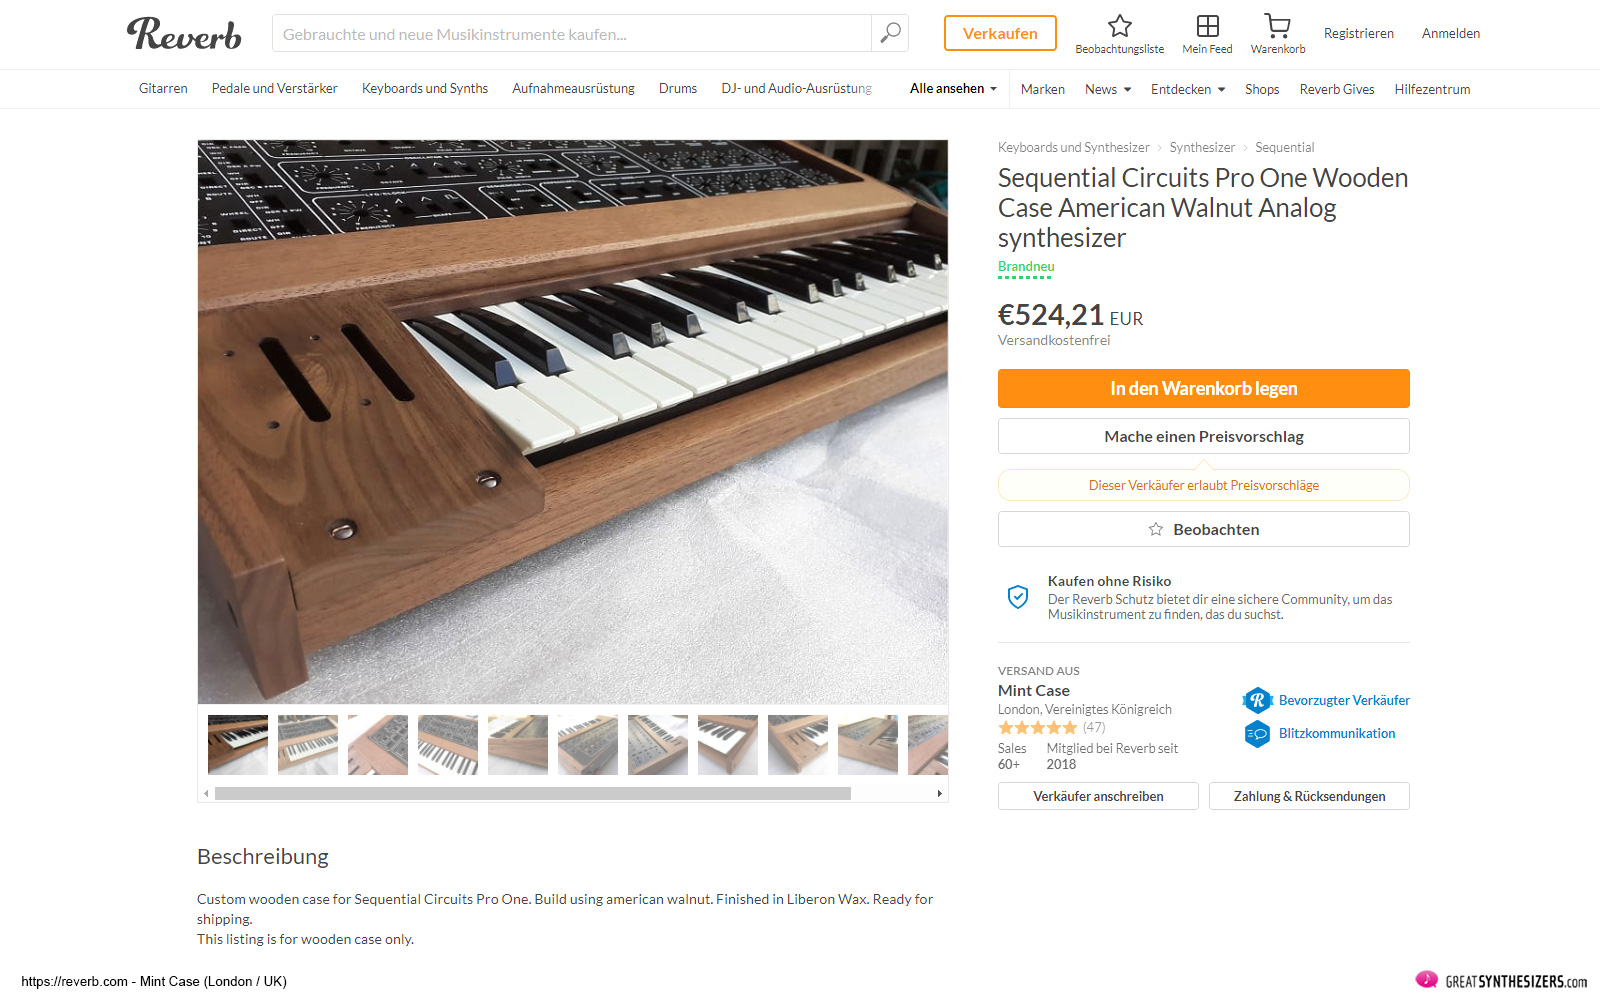
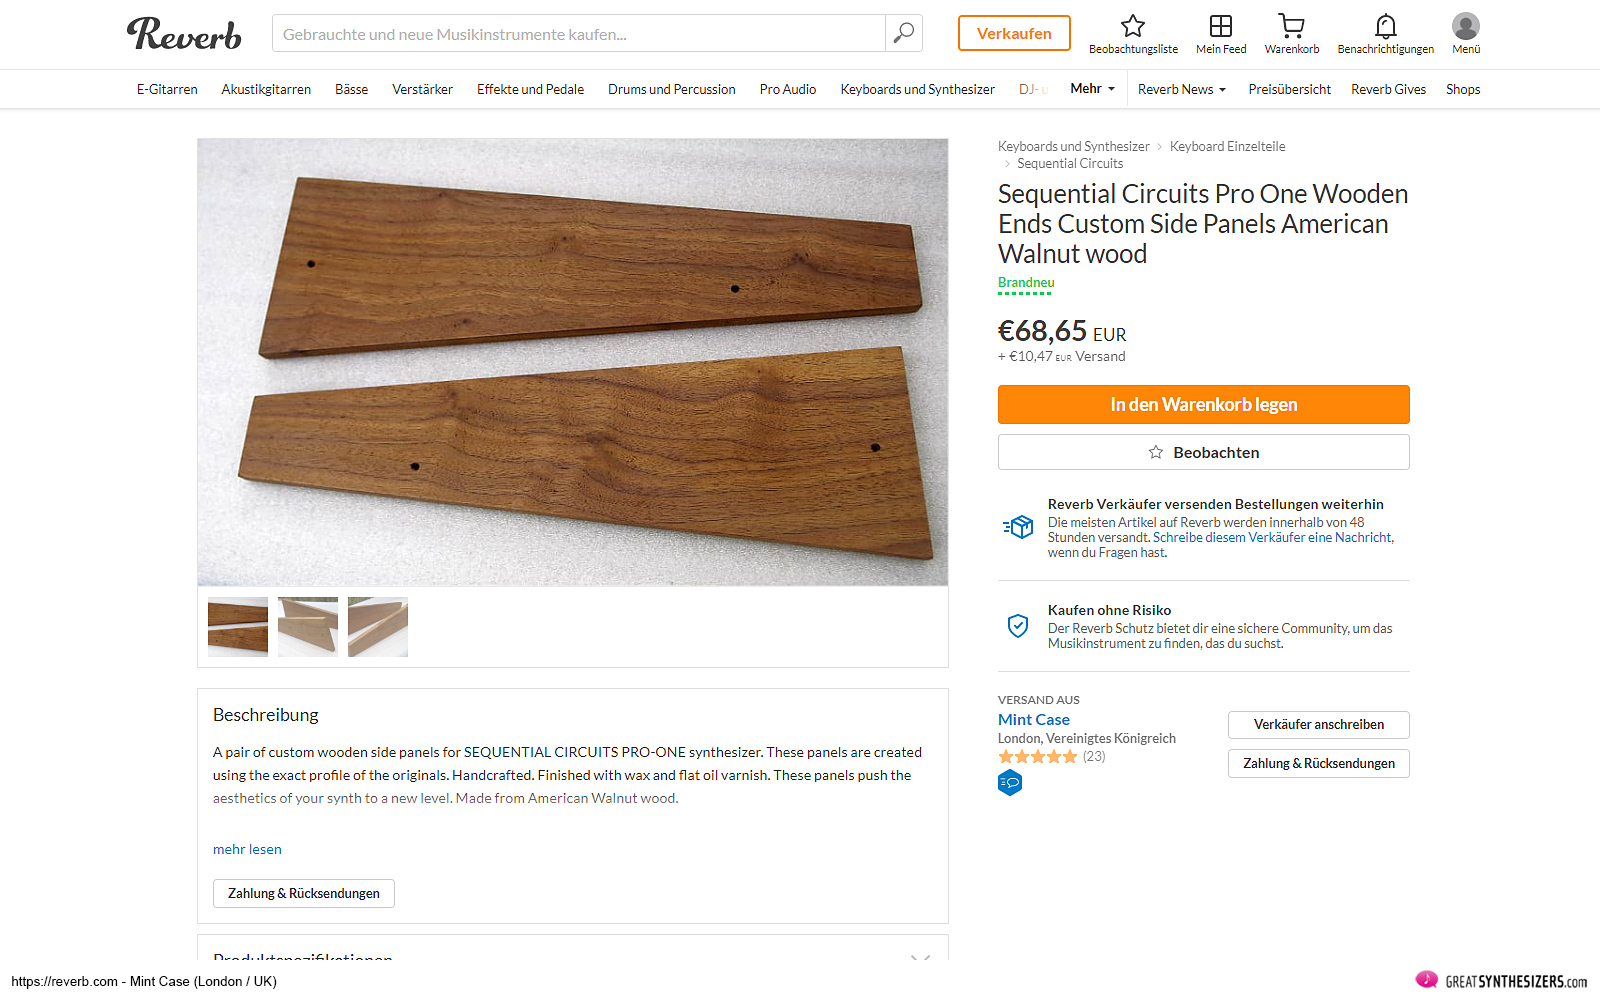
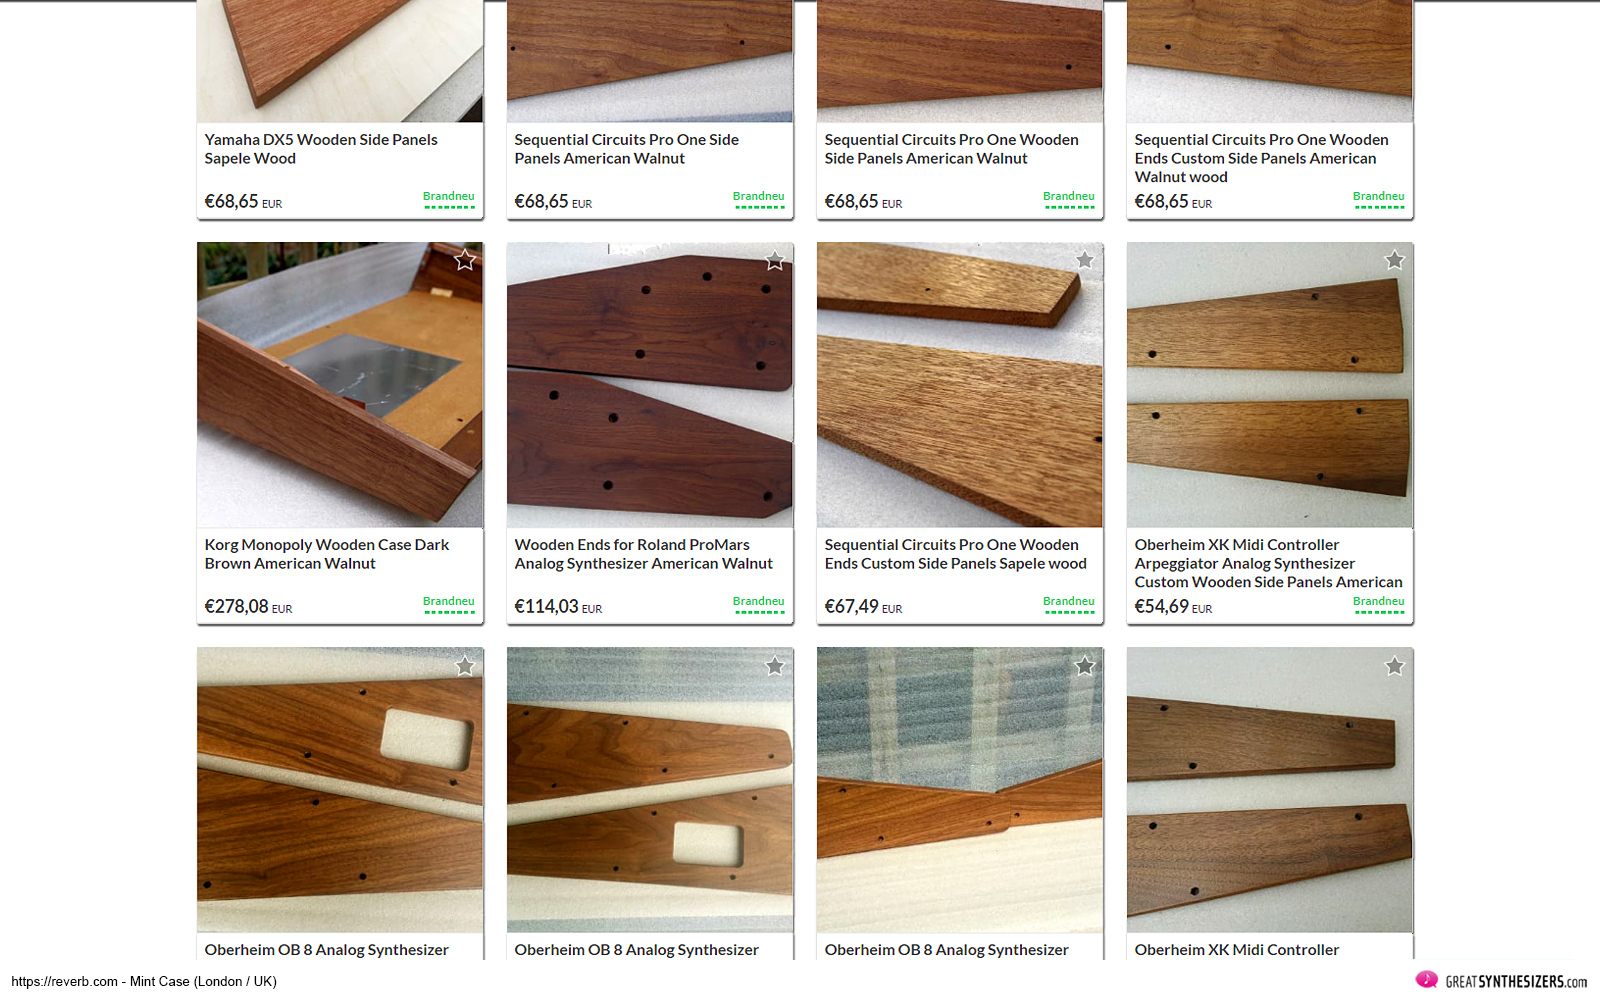
One company in question is based in London / UK and can be found on Reverb.com: Mint Case. The provider not only offers side panels for the Pro-One (and a complete Pro-One wooden case as well), but side panels for a large number of synthesizers – from the Korg Mono/Poly to the new Behringer vocoder …
Now to the insides of the Pro-One. From today’s perspective, the computer-technical facts of this 1981 synthesizer are ridiculously elementary. There is the ROM and RAM area of the Pro-One, for example, which is tiny. It is not surprising that the sequencer can only store a maximum of 40 steps and that it immediately loses its memory when the instrument is switched off.
An upgrade brings some light into this digital darkness: Music Technologies Group (MTG) is the manufacturer of a CPU which not only extends the Pro-One sequencer memory to 256 steps, but also ensures that sequences are retained after the instrument is switched off.
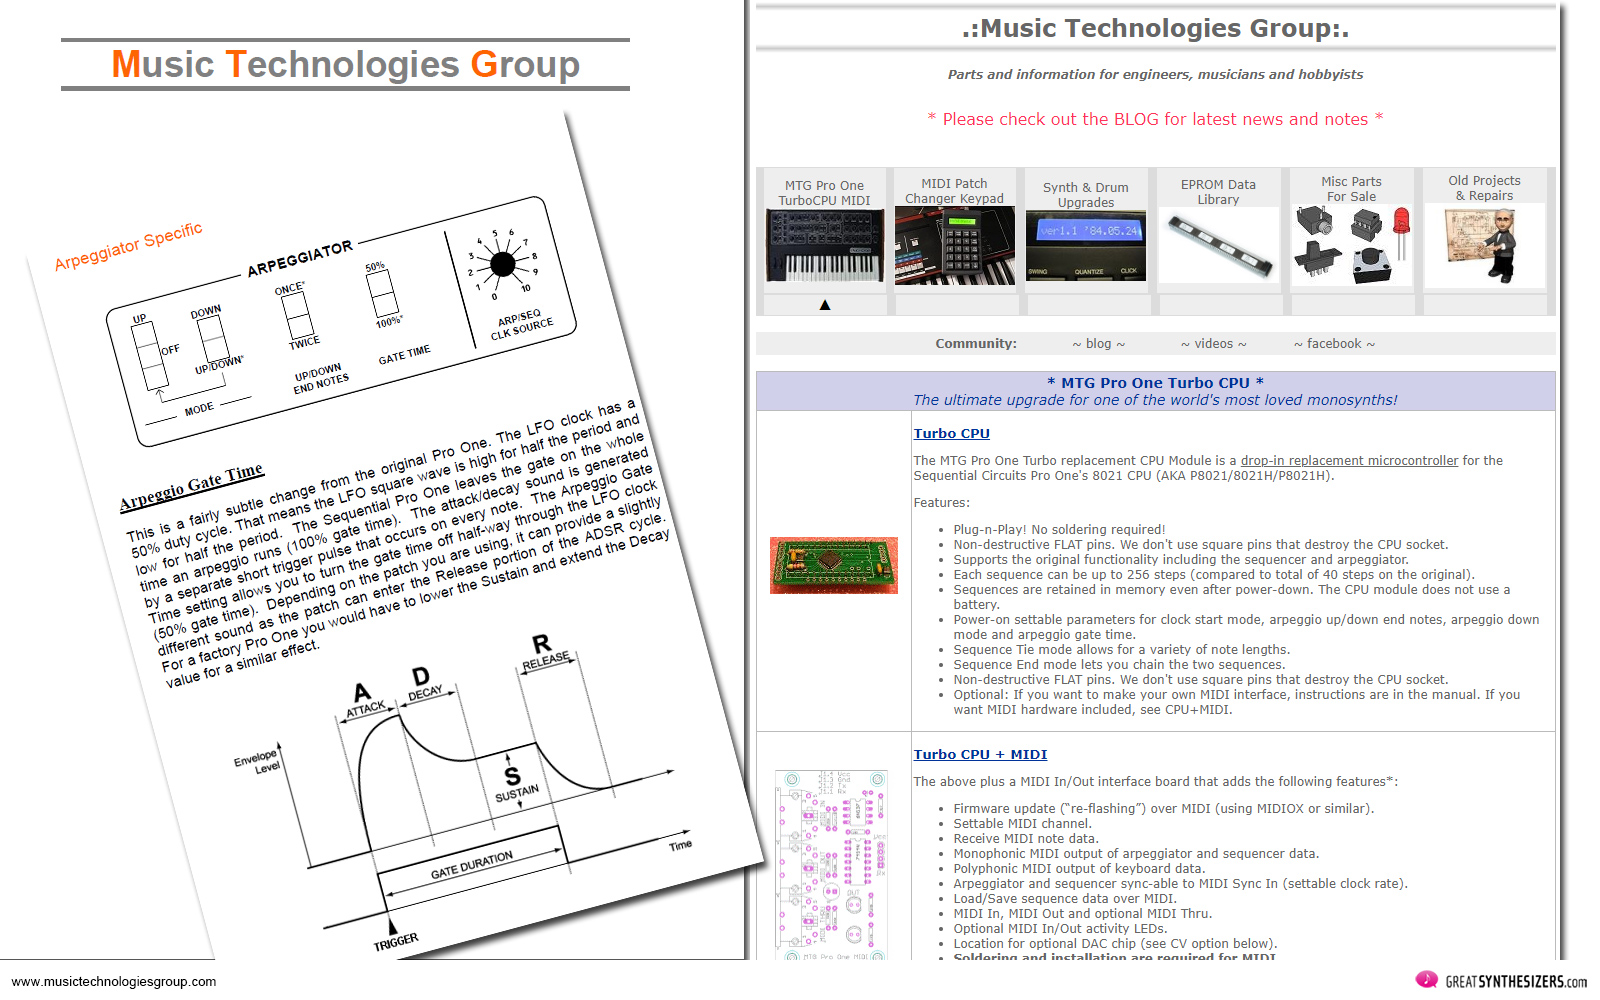
“The MTG Pro One Turbo replacement CPU Module is a drop-in replacement microcontroller for the Sequential Circuits Pro One’s 8021 CPU (AKA P8021/8021H/P8021H). Plug-n-Play! No soldering required!” www.musictechnologiesgroup.com
For another option, Music Technologies Group offers a MIDI kit (IN / OUT), in which, as a special feature, the Pro-One arpeggiator / sequencer is MIDI clock syncable (MIDI IN) and can transmit its data to the exterior (MIDI OUT). In addition, the Pro-One keyboard can be used to play other MIDI synthesizers polyphonically (!) …

Kenton Electronics should also be mentioned. The company offers a Pro-One retrofit kit that can receive pitch bend / mod wheel / filter cutoff frequency and sustain MIDI values (with a range of a respectable 60 notes).
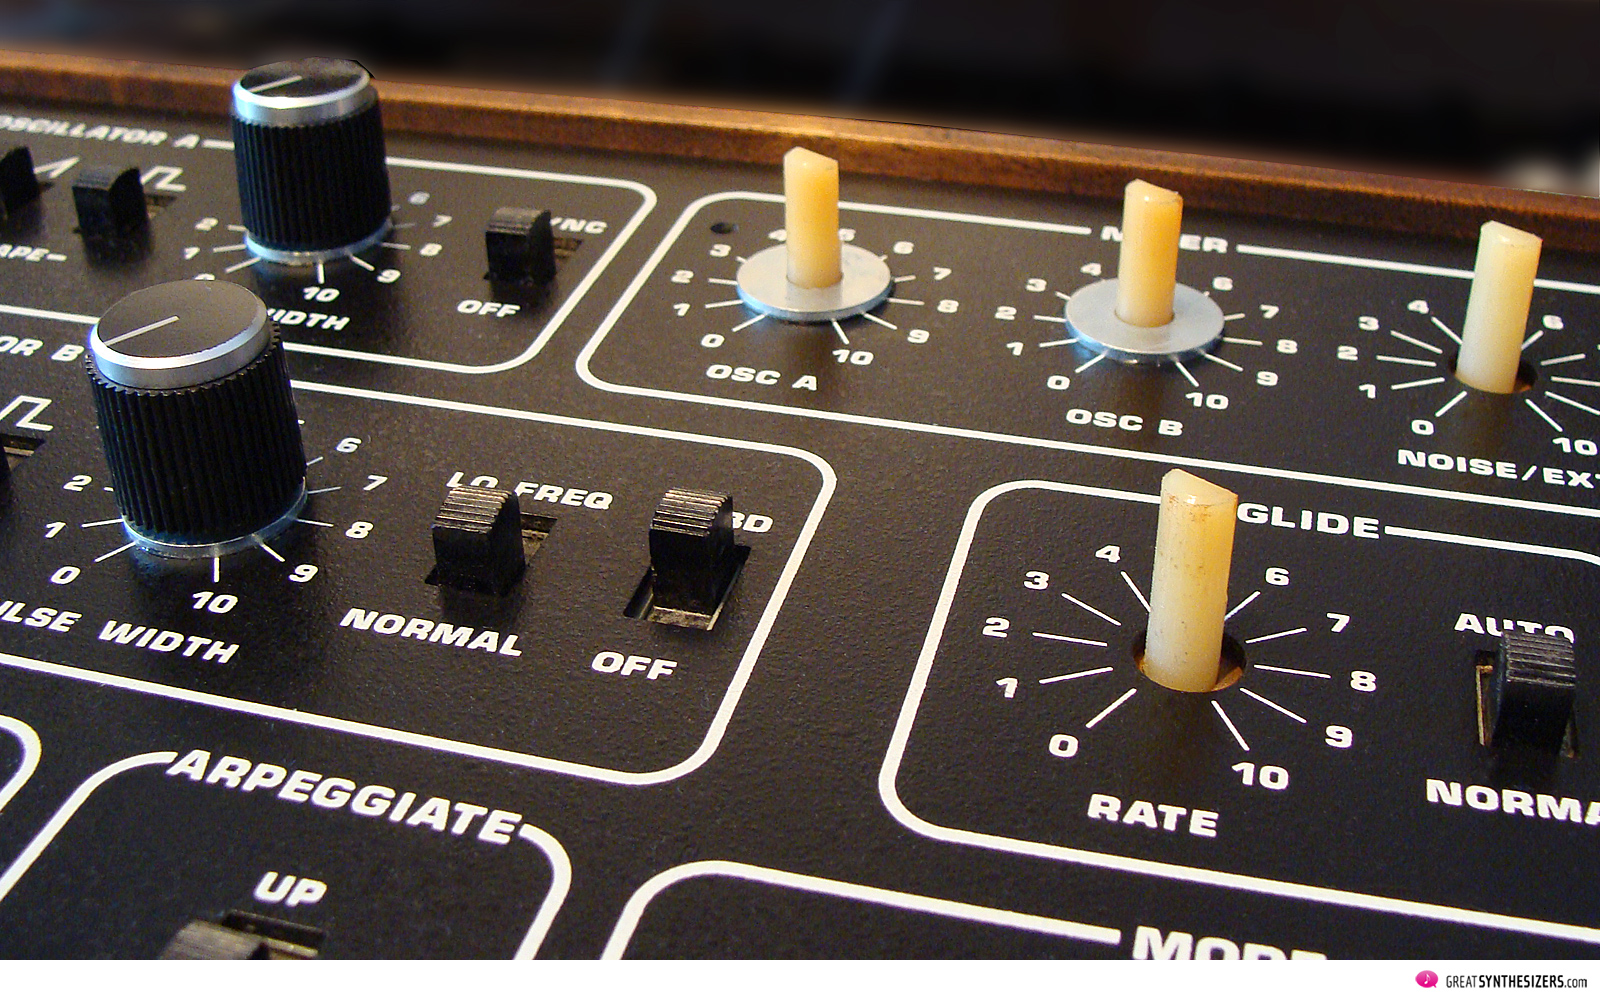
So, finally, to our two last suggestions, which again concern the hardware of the Pro-One. One of the few unpleasant aspects of this instrument is the instability of the pots. Fastened directly to the (one and only) large main board, they are not screwed to the panel and therefore lack stability. They feel shaky – they don’t feel good.
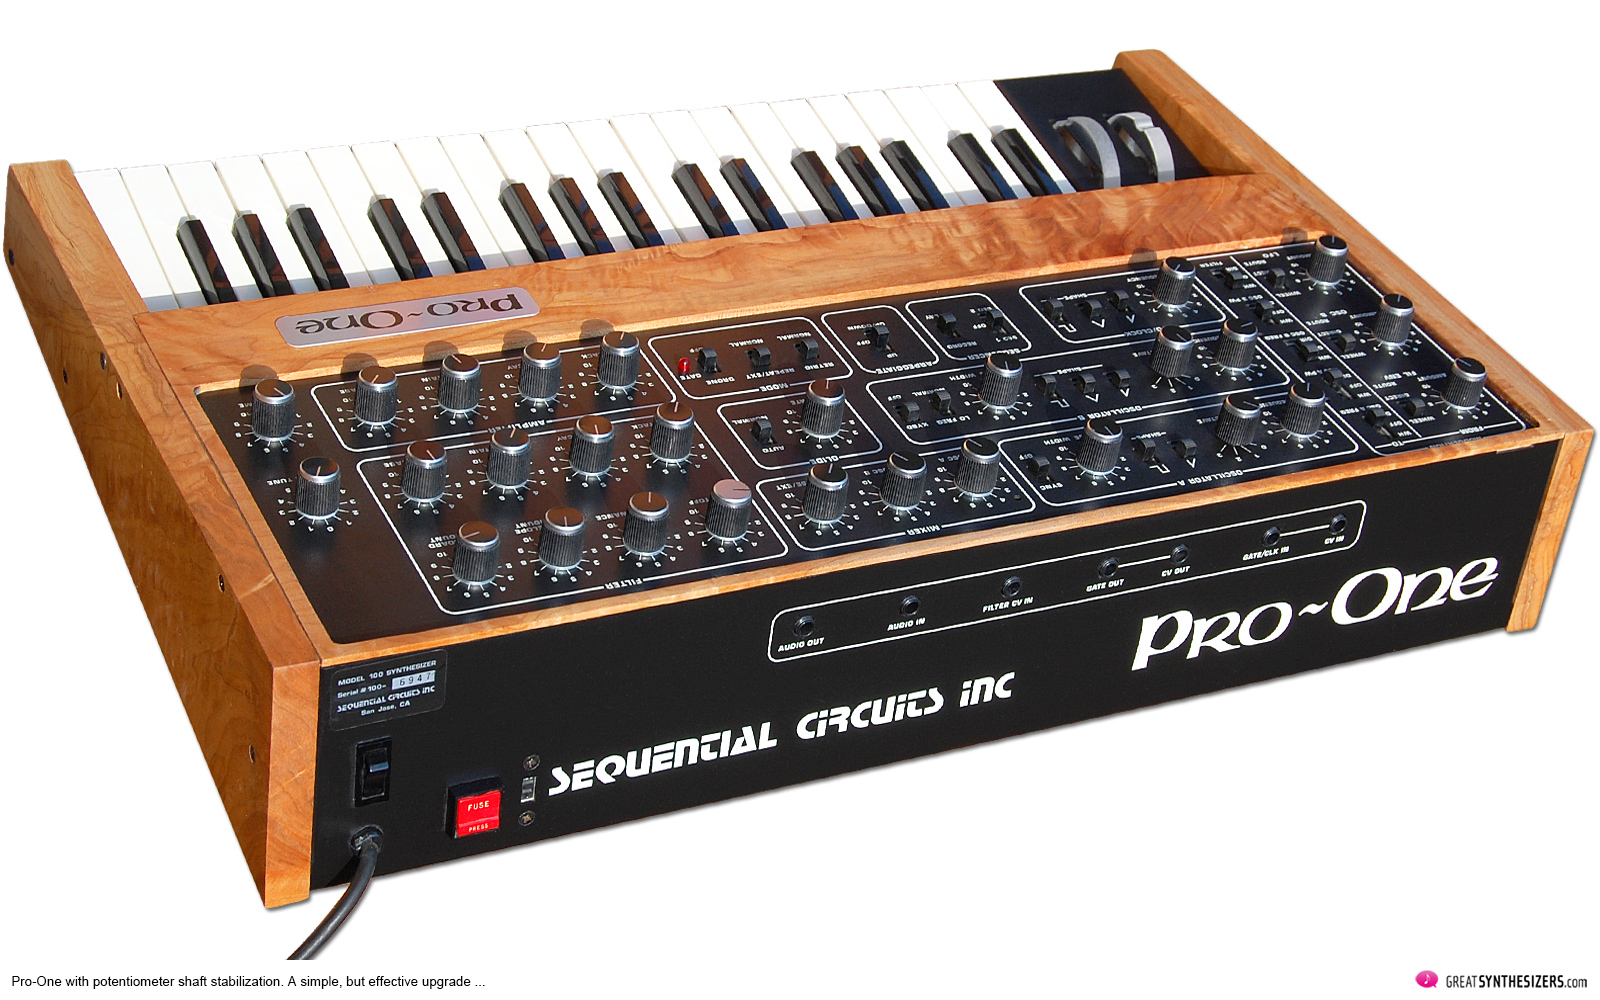
This problem can be tackled very easily with washers. Assuming the diameters of the washer and the knob match, this modification is not detrimental to the appearance of the Pro-One. To the contrary: The washers and the aluminum knob caps (mentioned in part 2 of our trilogy) contribute to a coherent overall impression of the instrument, above and beyond the stability that is gained.
Of course, such a modification needs to be considered carefully, since you have to attach the washers to the panel with glue (superglue?). Ideally this should be done with light pressure against the potentiometer axis at the moment of sticking, in order to alleviate the wobble factor (the original problem) once and for all.

Once glued on the Pro-One, the washers cannot be easily removed – at least not without leaving stubborn residues. Caution is advised! Take your time – work slowly and precisely. You don’t want to ruin your Pro-One.
In most cases, removing the pasted washers won’t be an option anyway. Since a Pro-One with stabilized potentiometers is a lot more comfortable to operate (and also looks much better!), you will hardly want to revert it back to its original condition.
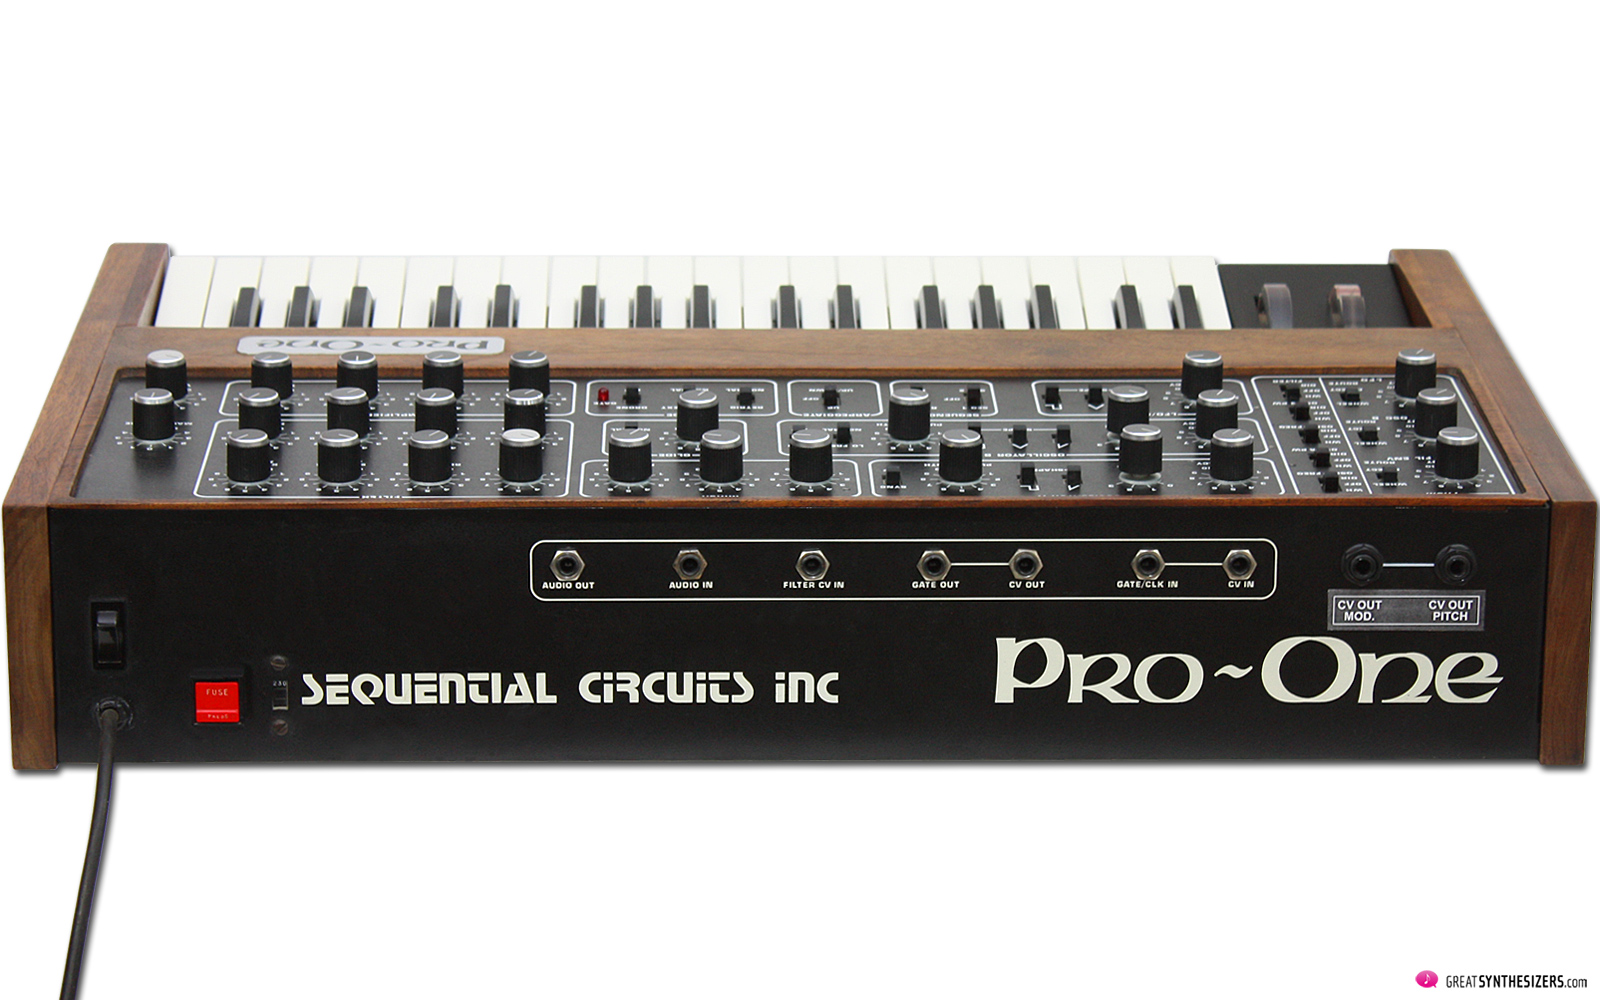
Another – even simpler – modification is the rear stabilization of the Pro-One metal housing. If you look at the innocent simplicity with which Sequential accommodated the inputs / outputs on the main board and from there (via holes in the housing) to the outside, you wonder why the company didn’t invest in 7 spindle nuts as binding (and stabilizing) elements.
This is no criticism, of course. The Pro-One was designed, manufactured and sold as an inexpensive instrument. Therefore, it had to be assembled with just a few quick steps. Especially in the first two years – 1981 and 1982 – this great monophonic synthesizer was manufactured non-stop, with an output of up to 50 pieces a day. So it’s no surprise there wasn’t time for mounting extra spindle nuts.
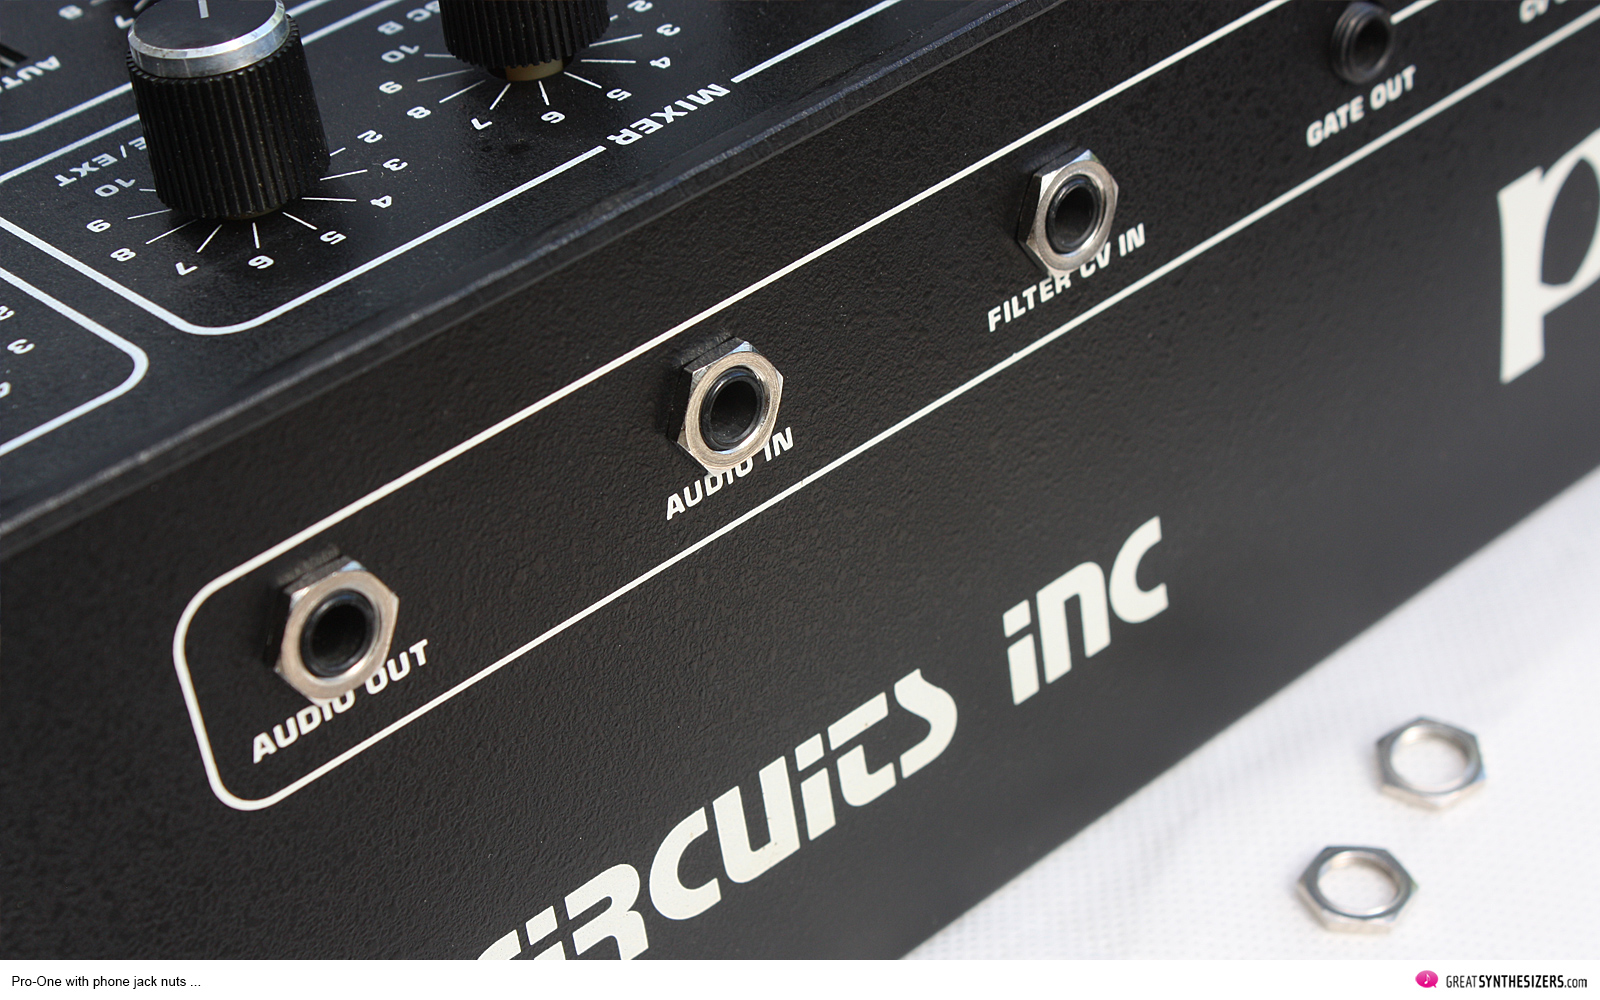
But what was missed in the early 80s can be made up for today. The threads are there, so it’s just a matter of the few seconds needed to mount the nuts and stabilize the rear side of the Pro-One. A slight pressure against the rear wall is recommended during assembly, making the jacks protrude a little more and facilitating the mounting of the spindle nuts.
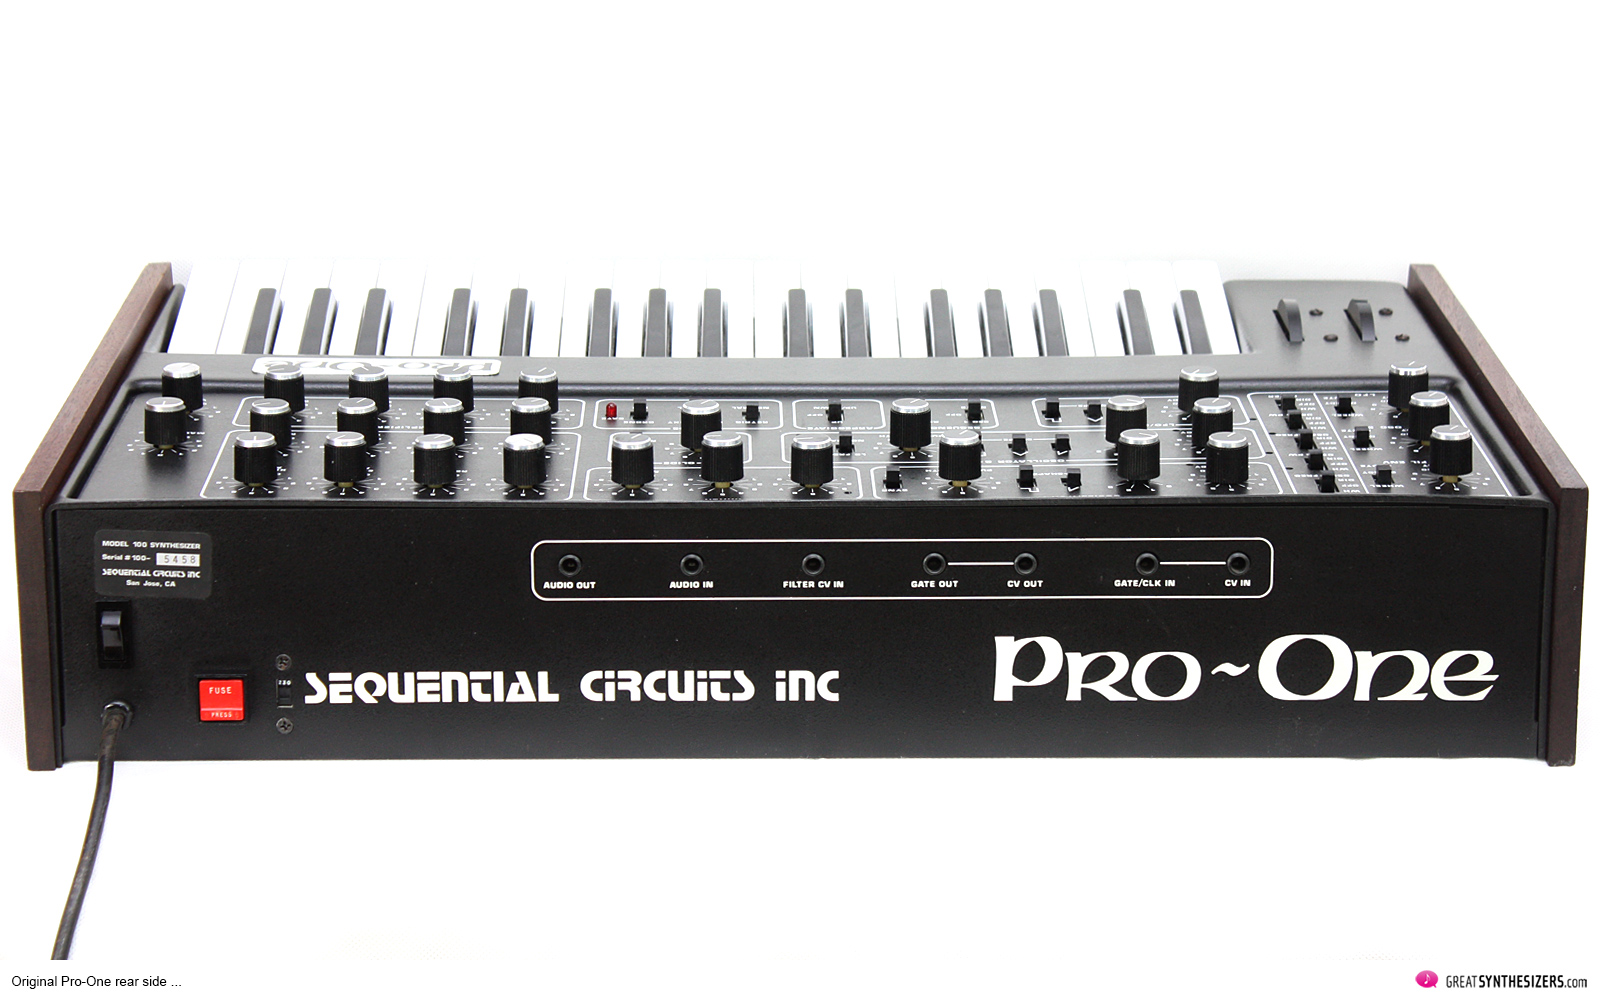
The result is not only a visual upgrade, it also gives the Pro-One significantly more stability. In addition – now we are back to the optics – the spindle nuts with the silver Pro-One / Sequential badges and the aluminum pot caps (if they have been added) effect an even greater visual harmony.
This ends the trilogy of Pro-One upgrades. All modifications – even the handling of that superglue – are of course at your own risk. The individual articles serve primarily to illustrate some options of improving the hardware of this classic synthesizer – if you want to.
The fact is: only a small investment is required to diffuse the dominantly cheesy, plastic look of the original. A few washers, nuts, wooden parts or aluminum knob caps are enough to achieve a balance between the instrument’s SOUND and (after upgrades) its valuable DESIGN.
Sequential Pro-One –
modifications and upgrades (part 3)
CPU Upgrade
MIDI Upgrade
Simple poti stabilization
Simple rear side stabilization
Links:
Sequential Pro-One – modifications and upgrades (part 1)
Sequential Pro-One – modifications and upgrades (part 2)
Sequential Pro-One – modifications and upgrades (part 3)